
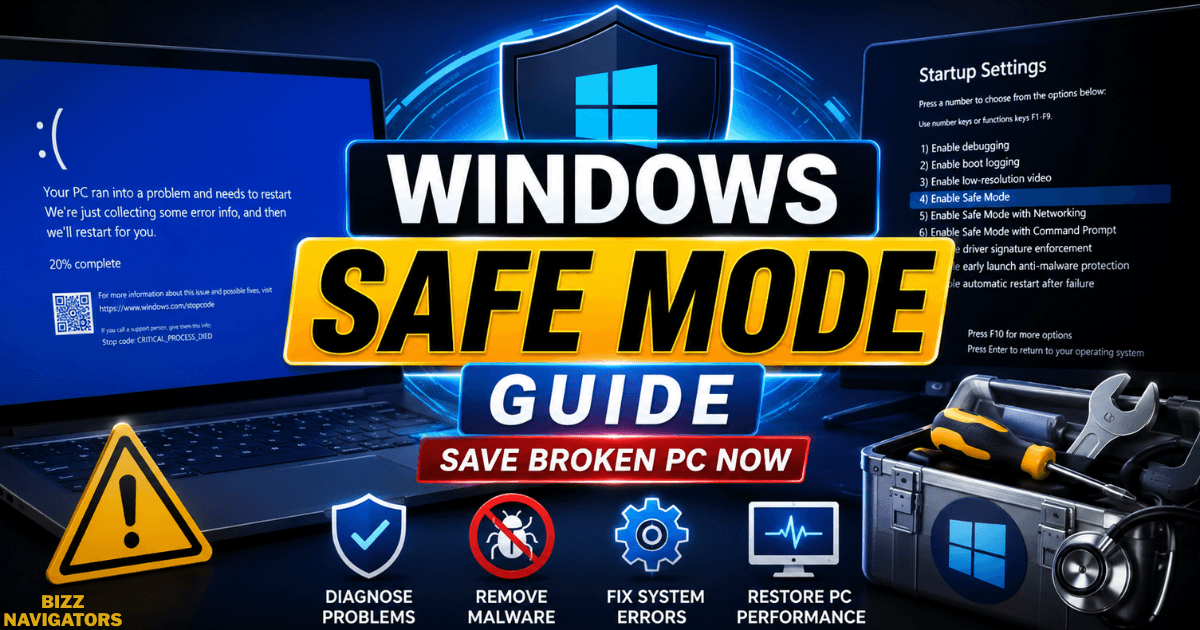
Windows Safe Mode is your primary diagnostic environment when your computer crashes, encounters a blue screen error, or is infected with malware. By launching Windows with only essential drivers, system files, and services, this Windows safe mode guide allows you to isolate, troubleshoot, and fix critical operating system errors safely.
What Is Windows Safe Mode and How Does It Work?
Safe Mode is a stripped-down, isolated operational state of the Microsoft Windows operating system. When you start Windows normally, it loads dozens of third-party startup applications, hardware drivers, background services, and visual display configurations. If any single driver or program becomes corrupted, your entire system can freeze or crash into a Blue Screen of Death (BSOD).
+—————————————————————–+
| NORMAL WINDOWS BOOT |
| Loaded: Third-Party Drivers, Visual Themes, Startup Apps, |
| Background Services, Full Network Stack, Hardware Acceleration |
+—————————————————————–+
|
v
[ System Crash / BSOD / Malware ]
|
v
+—————————————————————–+
| WINDOWS SAFE MODE |
| Loaded: Core System Drivers Only, Basic VGA Display, |
| Essential Windows Services (Network Disabled by Default) |
+—————————————————————–+
In Safe Mode, Windows bypasses all non-essential drivers and third-party software. It runs a basic graphics driver (VGA) and limits background tasks, giving you a clean environment to uninstall problematic updates, remove persistent malware, or rollback device drivers.
The Three Variants of Windows Safe Mode
| Safe Mode Variant | What It Loads | Ideal Use Case |
| Standard Safe Mode | Core drivers, basic graphics, essential system files only. | Removing stubborn malware, uninstalling bad drivers, fixing blue screen errors. |
| Safe Mode with Networking | Standard Safe Mode + network drivers and services. | Downloading fix tools, updating drivers online, searching for technical solutions. |
| Safe Mode with Command Prompt | Standard Safe Mode + CMD interface instead of the Windows GUI. | Advanced command-line troubleshooting, running sfc /scannow or chkdsk. |
How to Boot Safe Mode in Windows 11 and Windows 10
Windows 11 and Windows 10 share the modern Windows Recovery Environment (WinRE) architecture, making their Safe Mode access methods virtually identical.
Method 1: Using the Shift + Restart Trick (Fastest Method)
If your computer boots to the desktop or the sign-in screen, this is the quickest way to enter Safe Mode:
1. Open the Start Menu or press Win + L to lock your screen.
2. Hold down the Shift key on your keyboard.
3. Click the Power icon and select Restart while holding the Shift key.
4. Your PC will restart into the Choose an option blue menu screen.
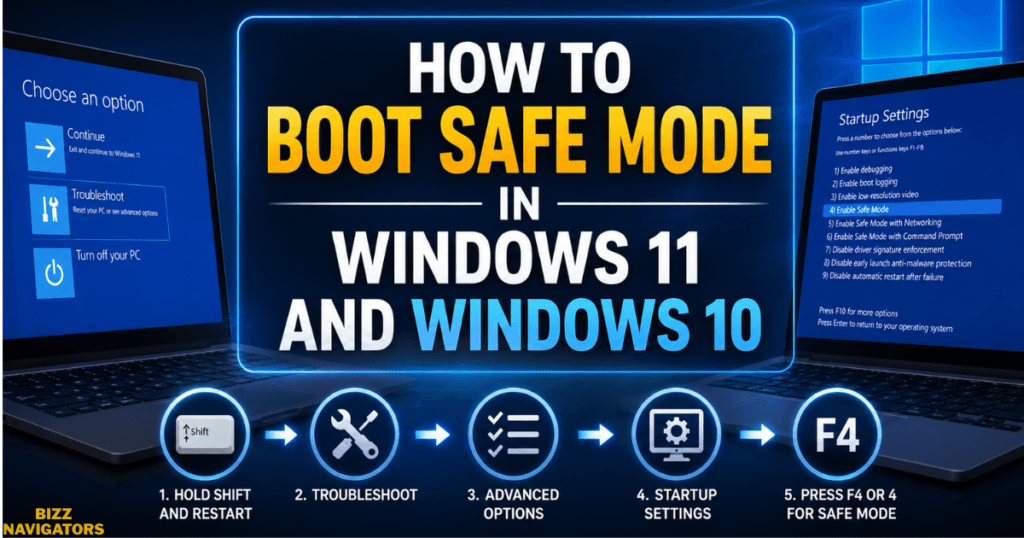
5. Navigate to Troubleshoot > Advanced options > Startup Settings > Restart.
6. After your PC restarts, press 4 or F4 for standard Safe Mode, or 5 or F5 for Safe Mode with Networking.
[Start Menu / Lock Screen] ──> Hold Shift + Click Restart
│
▼
[Choose an option Screen]
│
▼
[Troubleshoot] ──> [Advanced options]
│
▼
[Startup Settings] ──> [Restart]
│
▼
[Press 4 or F4 for Safe Mode]
Method 2: Using the Settings App
If your desktop is fully accessible, you can initiate a Safe Mode boot through system settings:
Windows 11: Go to Settings > System > Recovery. Next to Advanced startup, click Reboot now.
Windows 10: Go to Settings > Update & Security > Recovery. Under Advanced startup, click Restart now.
Once your system restarts to the recovery screen, follow steps 5 and 6 from Method 1.
How to Boot Windows 10 and 11 in Safe Mode from Power Off
When your computer refuses to boot into the desktop, you must trigger Windows Recovery Mode directly from a powered-off state.
The Force-Shutdown Interruption Method
Windows includes an automatic recovery mechanism that triggers when three consecutive boot failures occur:
1. Ensure your PC is completely turned off.
2. Press the Power button to turn on your PC.
3. As soon as you see the manufacturer logo (Dell, HP, ASUS, Lenovo) or
4. spinning dots, press and hold the Power button for 10 seconds to force a shutdown.
5. Repeat this process two more times.
6. On the third restart, Windows will display Preparing Automatic Repair, followed by the Diagnose your PC screen.
7. Click Advanced options to open the recovery menu.
8. Navigate to Troubleshoot > Advanced options > Startup Settings > Restart, then select 4 or F4.

Can You Boot Windows Safe Mode from BIOS?
A common misconception among PC users is that you can enable Safe Mode directly inside the BIOS or UEFI menu. You cannot boot directly into Windows Safe Mode from the BIOS setup screen.
The BIOS (Basic Input/Output System) or UEFI (Unified Extensible Firmware Interface) is firmware built into your motherboard. It initializes hardware before the operating system starts. Safe Mode, however, is a software feature inside Windows.
How BIOS Helps You Reach Safe Mode
While BIOS cannot launch Safe Mode directly, it provides two necessary features when your system fails to boot:
1. Changing Boot Priority: You can use BIOS to set a bootable USB drive as your primary boot device, allowing you to launch Windows Installation Media and access the “Repair your computer” menu.
2. Disabling Fast Boot: Modern motherboards use Fast Boot to bypass initial startup checks. Disabling Fast Boot in BIOS gives you enough time to intercept the boot sequence using key combinations.
+———————————————————————————–+
| BIOS / UEFI FIRMWARE |
| Functions: Hardware Initialization, System Clocks, Boot Order, Power Management |
+———————————————————————————–+
│
│ Hand-off Boot Process
▼
+———————————————————————————–+
| WINDOWS BOOT MANAGER (BOOTMGR) |
| Functions: Loads Windows Kernel, BCD Store, System Drivers, Safe Mode Environment |
+———————————————————————————–+
To boot Safe Mode using a Windows Installation USB via BIOS:
1. Insert your Windows 10 or 11 Installation USB.
2. Turn on your PC and tap the BIOS key (F2, F12, Del, or Esc depending on your motherboard).
3. Change the boot order to make your USB drive the first device, then save and exit.
4. On the Windows Setup screen, select your language, then click Repair your computer at the bottom left.
5. Select Troubleshoot > Command Prompt.
6. Type the following command and press Enter:
7. DOS bcdedit /set {default} safeboot minimal
8. Close Command Prompt and click Continue. Windows will boot directly into Safe Mode.
How to Boot Windows 10 Safe Mode from Boot (MSConfig)
If you can access Windows normally but want to force your computer to always boot into Safe Mode during troubleshooting, use the System Configuration utility (MSConfig).
1. Press Win + R to open the Run dialog box.
2. Type msconfig and press Enter.
3. Click the Boot tab at the top of the window.
4. Under Boot options, check the box next to Safe boot.
Choose your desired option:
Minimal: Standard Safe Mode.
Network: Safe Mode with networking enabled.
Alternate shell: Safe Mode with Command Prompt.
Click Apply, then click OK.
Select Restart when prompted.
+——————————————————————-+
| SYSTEM CONFIGURATION |
+——————————————————————-+
| [General] [Boot] [Services] [Startup] [Tools] |
| |
| Boot Options: |
| [X] Safe boot |
| (o) Minimal ( ) Alternate shell ( ) Network |
| |
| [ Apply ] [ OK ] [ Cancel ] |
+——————————————————————-+
Important: To exit Safe Mode after finishing your repair, open msconfig again, uncheck Safe Boot, click Apply, and restart your PC. Otherwise, your computer will keep booting into Safe Mode indefinitely.
Windows Safe Mode Guide for Windows 7
Legacy systems like Windows 7 use an older bootloader architecture that relies on interrupt keys during POST (Power-On Self-Test).
Using the Legacy F8 Key Method
1. Turn off your Windows 7 computer completely.
2. Press the power button to turn it on.
3. Immediately start tapping the F8 key repeatedly (once every half second) before the Windows logo appears.
4. The Advanced Boot Options menu will appear on a black screen.
5. Use the arrow keys on your keyboard to select Safe Mode, Safe Mode with Networking, or Safe Mode with Command Prompt.
Press Enter.
If you see the Windows flag logo starting to animate, you missed the window. You must wait for Windows to boot completely, shut down, and try again.
Essential Troubleshooting Steps Once Inside Safe Mode
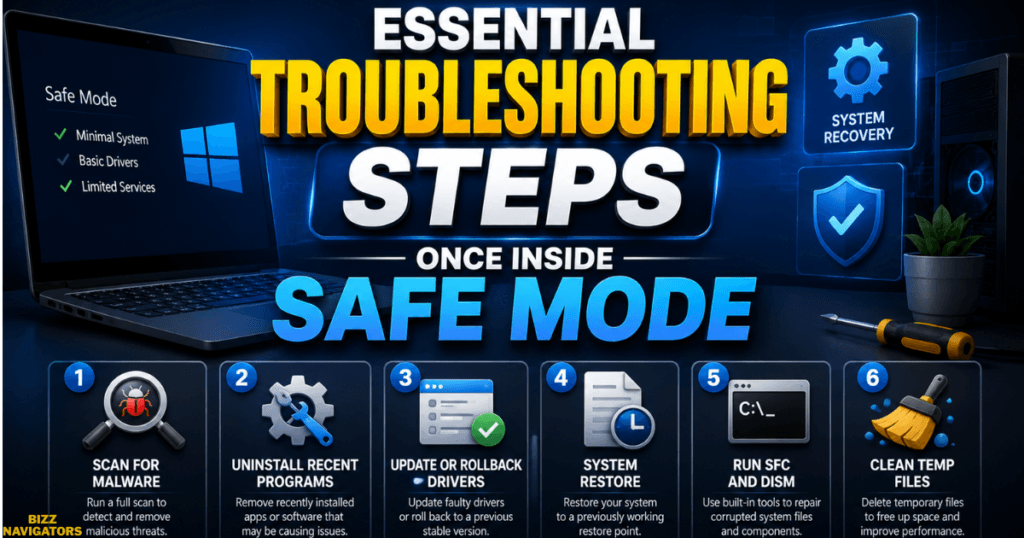
Entering Safe Mode is only the first step. Here is how to diagnose and fix the root causes of your system instability:
1. Uninstall Recent Program or Driver Updates
Faulty updates frequently cause system instability. In Safe Mode:
1. Press Win + R, type appwiz.cpl, and press Enter to open Programs and Features.
2. Click View installed updates on the left sidebar.
3. Sort by date, right-click the most recent update, and select Uninstall.
2. Run System File Checker (SFC) and DISM
Corrupted core system files can prevent normal boots. Safe Mode gives command tools full file access without write-locks:
Press Win + X and open Terminal (Admin) or Command Prompt (Admin).
Run the Deployment Image Servicing and Management tool first:
DOS
DISM.exe /Online /Cleanup-image /Restorehealth
Once DISM finishes, run the System File Checker scan:
DOS
sfc /scannow
3. Clear Persistent Malware Threats
Malware often protects itself in normal mode by injecting code into active third-party background services. In Safe Mode, these malicious background processes remain dormant, allowing antivirus software to detect and isolate threats effectively.
Frequently Asked Questions
Why is my keyboard or mouse not working in Safe Mode?
Older USB keyboards and mice may fail to respond in Safe Mode if your BIOS disables USB legacy support. Enter your motherboard BIOS settings during boot and enable Legacy USB Support or USB Keyboard/Mouse Support.
How do I exit Safe Mode in Windows 10 and 11?
Simply restart your computer via the Start Menu. If your PC continues booting into Safe Mode automatically, press Win + R, type msconfig, switch to the Boot tab, uncheck Safe Boot, click Apply, and restart.
Can Safe Mode damage my computer or files?
No. Safe Mode is a built-in diagnostic feature designed by Microsoft. It runs native Windows components in a read/write state and will not delete your personal files, photos, or documents.
Why does my screen look low-resolution or stretched in Safe Mode?
Safe Mode disables your primary graphics card driver (NVIDIA, AMD, or Intel) and switches to the Microsoft Basic Display Driver. This causes lower screen resolutions, stretched visuals, and disabled multi-monitor setups, which is completely normal.
What should I do if Safe Mode still crashes or fails to boot?
If your system crashes while attempting to load Safe Mode, your issue is likely caused by severe core operating system corruption or hardware failure (such as failing RAM, a damaged SSD/HDD, or motherboard issues). Use a Windows installation USB to run Startup Repair or perform a clean reinstall.
Key Takeaways: Complete Windows Safe Mode Guide Summary
If your PC crashes, freezes, or hits a blue screen, this Windows safe mode guide gives you the fastest path to complete recovery without losing a single personal file. By stripping away non-essential startup programs, background services, and corrupted display drivers.
Safe Mode creates a clean environment to isolate hardware conflicts, purge stubborn malware, and run critical SFC or DISM system repairs across Windows 11, Windows 10, and Windows 7. Master these boot techniques whether from a powered-off state, via recovery drives, or through BIOS options.
Ensures you can fix system errors safely without resorting to a destructive factory reset. Bookmark this Windows safe mode guide, keep a bootable USB drive ready, and use these diagnostic steps whenever system instability strikes.

At BizzNavigators, we answer the questions you’re actually searching for, honestly and clearly. We check our facts before we publish anything, and if we’re not sure about something, we tell you instead of guessing. Whatever you’re looking for- a tech fix, a business tip, or a simple how-to- we want to give you an answer you can trust.